After a week or two of painting, video editing and learning how to properly use YouTube, I am finally ready to release my latest time-lapse. This video and written steps features the process, tools and techniques I use to paint my oil on canvas paintings!
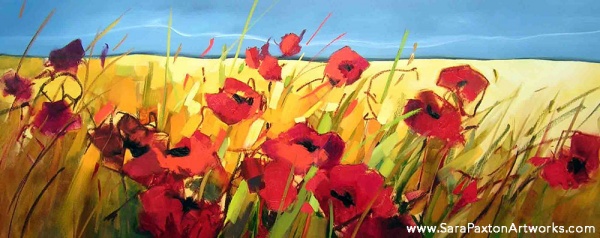
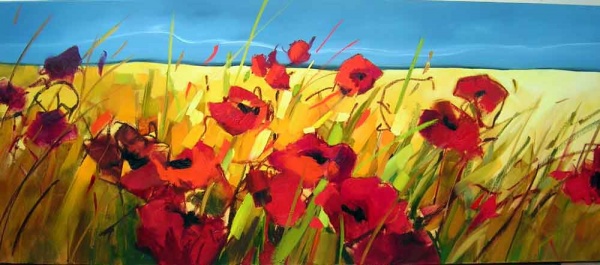
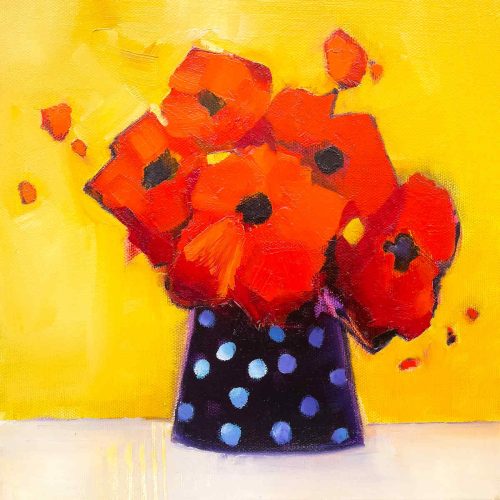
This painting, called Parading Poppies, was produced using oil paints on stretched canvas and is 160x60cm in size. See below the video for written steps!
Oil Painting Lesson Steps:
Step 1
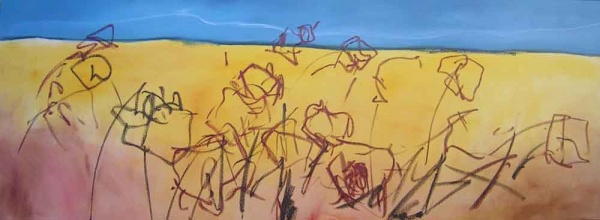
First, decide where the horizon line is going. Then under paint the lower half – I used Australian Red Gold, Indian Yellow and Burnt Umber – to create a base layer. This is done very quickly – don’t worry too much about getting this layer perfect.
Using these warm colours as a base will help create a nice glow. I wanted a cooler blue/grey sky as a contrast so used Indigo, Paynes Grey, Phthalo Blue and Titanium White.
Step 2
Next sketch in very roughly where the flowers will be going using pigment sticks. This step is a quick sketch using easy, free flowing strokes. It’s just to get an idea of where the flowers will be placed on the canvas and it’s only an outline.
Step 3
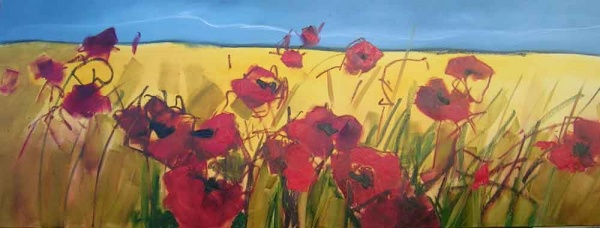
Start to block in some colour on the flowers. Begin with darker reds – Pilbara Red, Cadmium Red Deep which can also be darkened with a little black. I rarely use black on its own, I prefer to mix it with other colours to create more interesting darks.
Remember to use slight variations of the colours which will make the painting a little more interesting. Begin painting the foliage. I started with Indigo and Australian Red Gold to create a warm green, and this was helped by the yellow/orange under painting. I use a combination of quite large, flat brushes and rubber ‘shapers’ to get broad, loose strokes.
Step 4
I now gradually start refining the poppies moving through lighter shades of red to create the brightest flowers in the central area. I still want a whimsical look with lots of movement so I don’t want to make it too ‘perfect’ or the flowers too well formed. Similarly, the grasses and leaves are developed further bringing in the brighter greens around the brighter poppies.
Now I leave the painting to dry a bit before I start on the background behind the flowers. I don’t want the reds to get into the background colours.
Step 5
Once the paint is drier, start adding in the lighter background colours using a ‘block’ style. I used vary shades of yellow including Cadmium Yellow, Cadmium Yellow Deep, Cadmium Yellow Light, Napes Yellow, Indian Yellow, together with Titanium White.
The final touches can be added using a smaller brush and the pigment sticks again. Little flashes of colour are very effective. Also, I’ve have left little bits of the under painting showing through. I want to link the sky with the foreground and this is done by taking some of the leaves/flowers across the horizon line. The sky needs to be dry before this is done.
The painting will be varnished when completely dry which will protect the paint but also give it a lovely sheen.
Tools used for this oil painting:
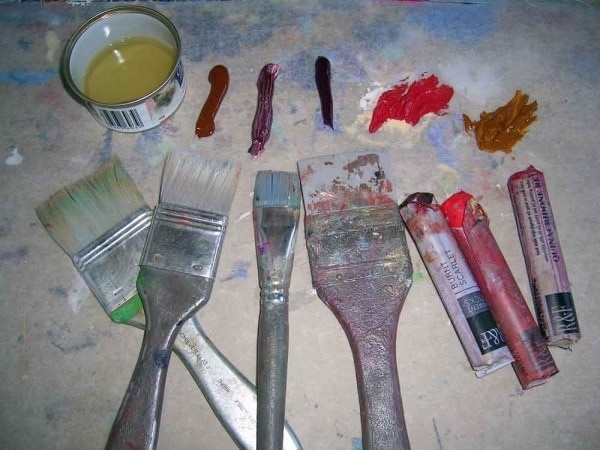
– Pigment sticks from R&F
– Oil Paints from Art Spectrum
– Stretched Canvas
– Brushes from Neef
– Rubber shapers, various sizes
– Varnish from Winsor and Newton
– You can find good prices on most of these products at Blick Art Suppliers
Thanks for watching, check out some more of my latest works on my Gallery Page! You can also find a more detailed list of products that I tend to use on my artist resources page.

Hi Sara! I enjoyed looking at your poppy painting video. I’ve been commissioned to paint poppies but I’m more of a portrait artist so wanted to see how others tackle these translucent, delicate petals. I think your results are some of the most pleasing I’ve found on my search.
Thanks for sharing!
Best regards,
Leah
Hi Leah, thank for your kind comments on the poppy video. I’m so pleased you found it useful. Good luck with your poppy commission!
Best wishes,
Sara
Love this Sara ….it is always intriguing to see how other artists work so loved this snapshot!! Look forward to more cheers!!
Thanks Wyn,
I’m glad you liked the post, it was a lot of fun to create and I will be releasing more soon!
Hi Sarah,
So few artist share so freely and willingly with others. Thank you so much!!
I am an art teacher of senior students and am mostly self taught. I am always looking for helpful art posts. This is so helpful, short and applicable to all subject matter.
I am so glad I found you.
( please advise size of your paintings for sale as I am very in love with your work)
Lia
Not a problem, glad you like it!
My original paintings range from all sizes you can see the sizes in the descriptions on the http://www.sarapaxtonartworks.com/artwork/ page. The square are usually 92x92cm. If you are looking for something smaller there are giclee prints in the site which are more like A3 and A4 sized paintings.
Feel free to contact me if you have any other questions.
Hi Sara
Have just come across your web site and love your paintings and this poppy demonstration. Am just starting out with oils and you’ve been an inspiration. Thank you.
Mark
Thanks Mark, I’m glad you’ve found some inspiration to get you going with oils. Out of all the mediums I think it’s the most rewarding, so good luck with your paintings, I hope you get as much enjoyment from it as I do.
Sara.
Hi Sara
Thank you for sharing!
I saw your work recently at the Camberwell Art Show and was stunned by their size and vivacity.
I will be pleased to read your art guide 🙂